
728x90
설치
Artillery · Cloud-scale Load Testing
Keep production reliable, customers happy, and pagers silent.
www.artillery.io
Artillery를 설치하려면 공식 홈페이지에 접속하면 된다.

INSTALL ARTILLERY CLI에 접속하자.
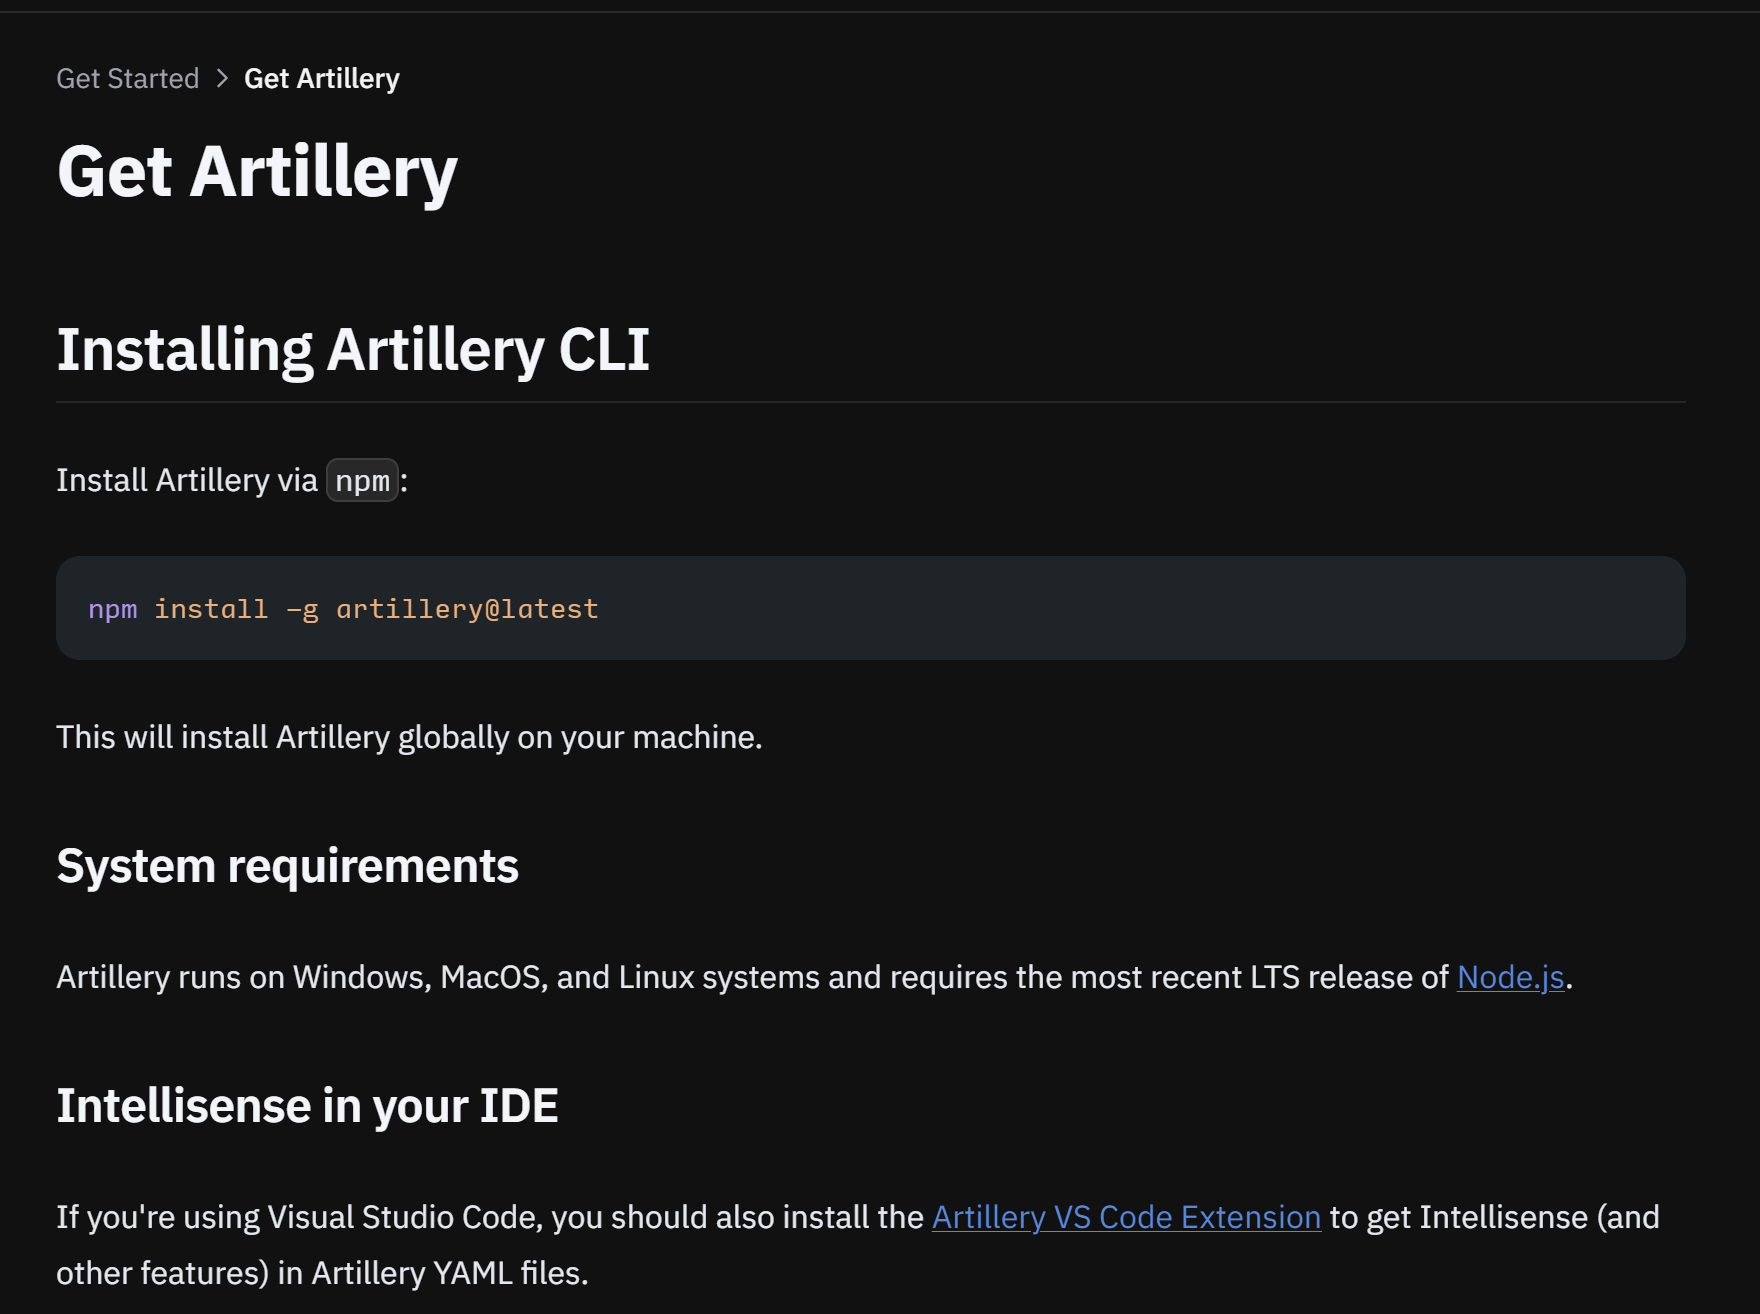
System requirements
Artillery는 Node.js로 개발된 성능 테스트 툴이기 때문에 Node.js가 먼저 설치 되어 있어야 한다.
artillery 설치
Node.js를 설치 후 install -g artillery@1.7.6 명령어를 실행해주었다.
C:\Users\qkrwl>npm install -g artillery@1.7.6
npm WARN deprecated uuid@2.0.3: Please upgrade  to version 7 or higher.  Older versions may use Math.random() in certain circumstances, which is known to be problematic.  See https://v8.dev/blog/math-random for details.
npm WARN deprecated artillery@1.7.6: Artillery v1.x is no longer supported. Please upgrade to a more recent version

added 279 packages in 23s

46 packages are looking for funding
  run `npm fund` for details
npm notice
npm notice New minor version of npm available! 10.5.2 -> 10.8.1
npm notice Changelog: https://github.com/npm/cli/releases/tag/v10.8.1
npm notice Run npm install -g npm@10.8.1 to update!
npm notice참고: 최신 버전보다 예전 버전이 좀 더 좋다는 말을 보고 1.7.6버전을 설치했다.
aritllery 버전 확인
C:\Users\qkrwl>artillery version
  Telemetry is on. Learn more: https://artillery.io/docs/resources/core/telemetry.html

        ___         __  _ ____                  _
  _____/   |  _____/ /_(_) / /__  _______  __  (_)___  _____
 /____/ /| | / ___/ __/ / / / _ \/ ___/ / / / / / __ \/____/
/____/ ___ |/ /  / /_/ / / /  __/ /  / /_/ / / / /_/ /____/
    /_/  |_/_/   \__/_/_/_/\___/_/   \__, (_)_/\____/
                                    /____/

------------ Version Info ------------
Artillery: 1.7.6
Artillery Pro: not installed (https://artillery.io/pro)
Node.js: v20.13.1
OS: win32/x64
--------------------------------------
Artillery 살펴보기
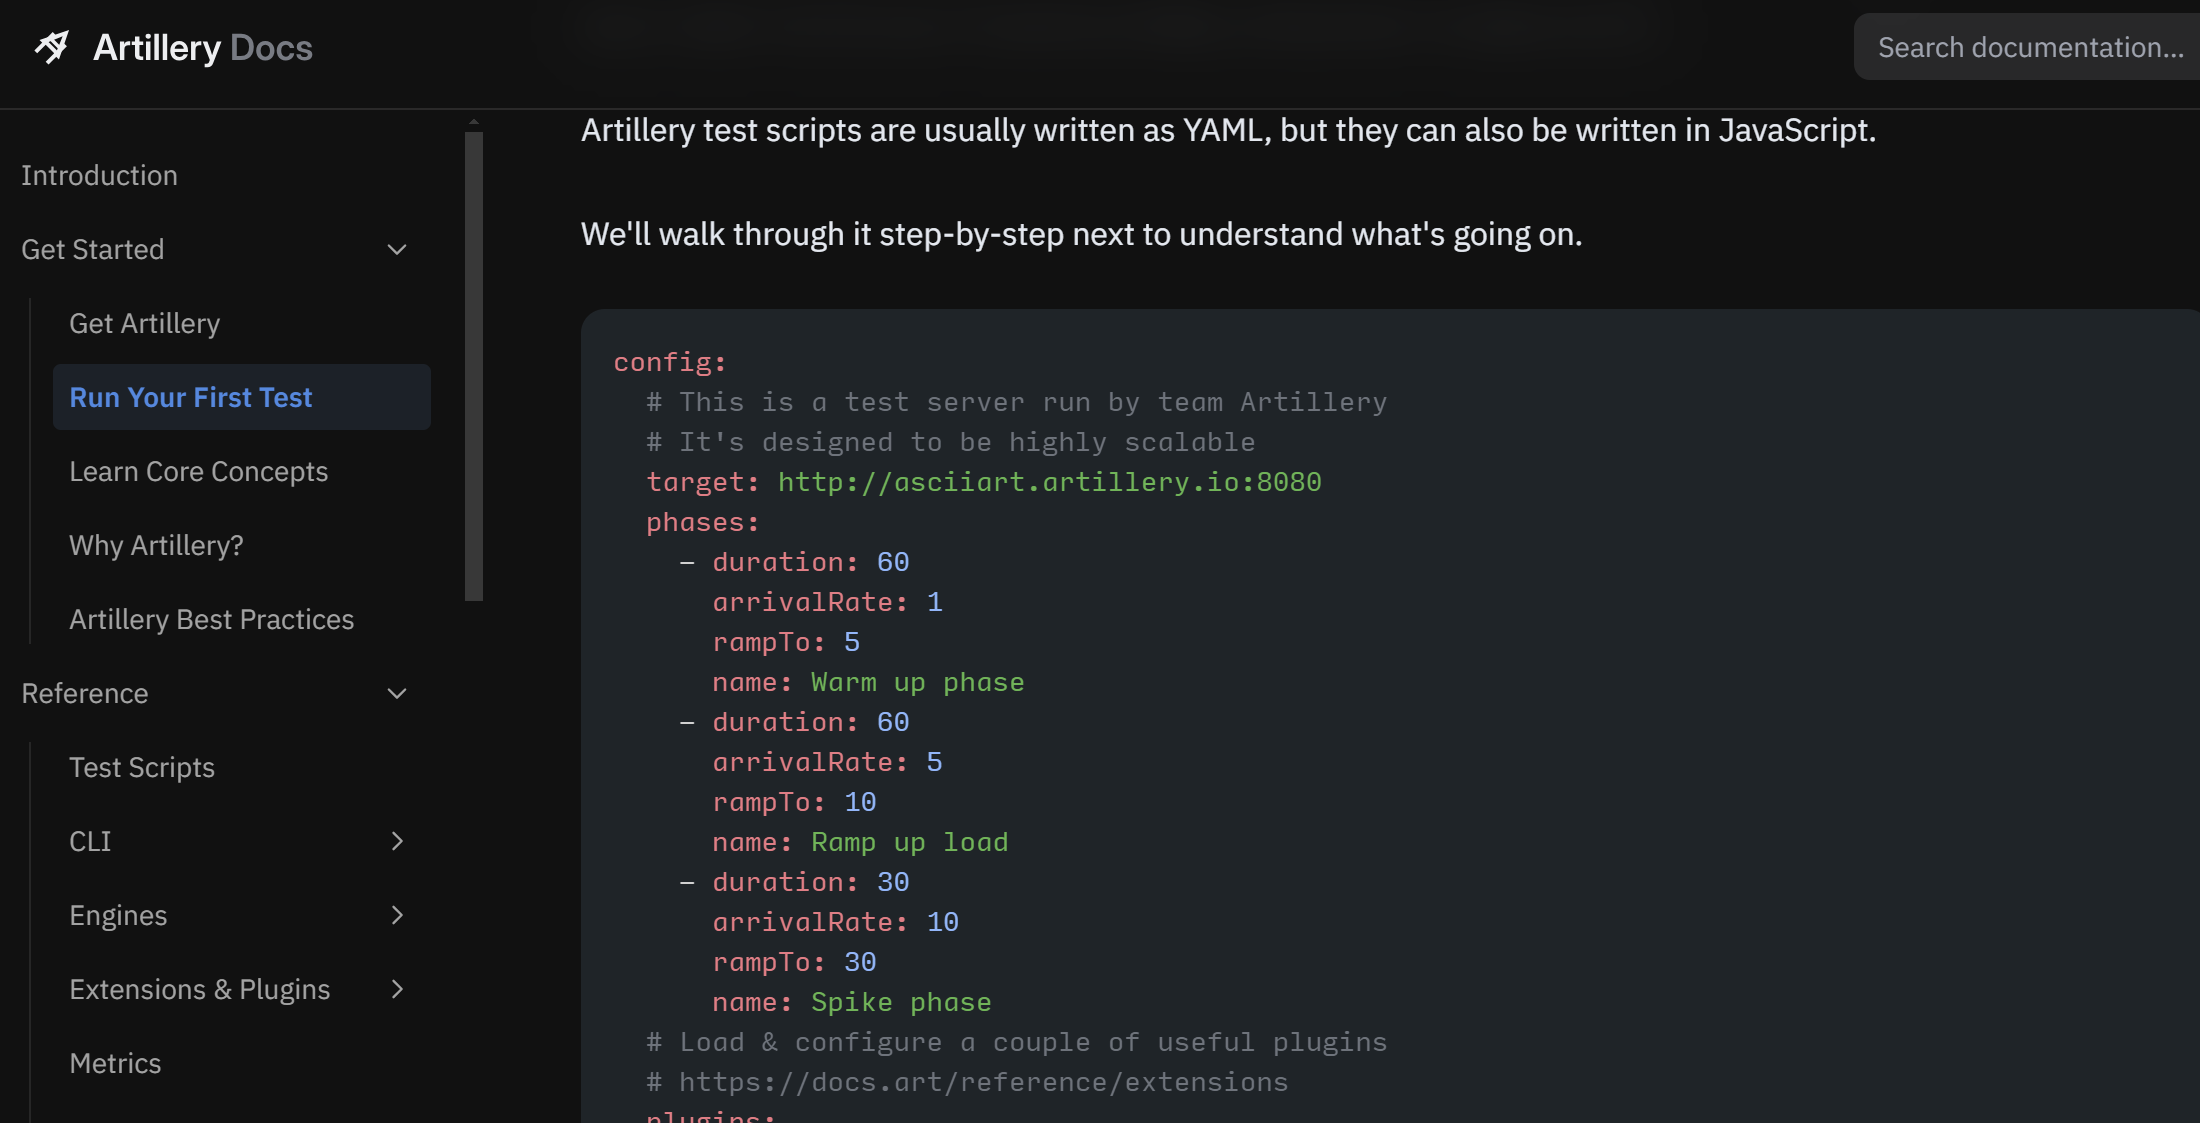
Artillery로 성능테스트를 하려면 yaml 파일을 하나 작성해야한다.
홈페이지(Get Started > Run Your First Test)에서 예시를 볼 수 있다.
config:
  # This is a test server run by team Artillery
  # It's designed to be highly scalable
  target: http://asciiart.artillery.io:8080 // 어떤 호스트가 성능 테스트의 타겟이 될지 지정
  phases:
    - duration: 60 // 얼마 동안의 기간 동안
      arrivalRate: 1 // 몇 TPS의 요청을 보낼지(=처리량(Throughput))(매 1초마다 몇번 요청)
      rampTo: 5
      name: Warm up phase
    - duration: 60 // 그다음 60초 동안은 어떤걸 할지
      arrivalRate: 5
      rampTo: 10
      name: Ramp up load
    - duration: 30 // 그다음 30초 동안은 무엇을 할지
      arrivalRate: 10
      rampTo: 30
      name: Spike phase
....
scenarios:
  - flow:
      - loop:
          - get:
              url: '/dino' // 요청 경로
          - get:
              url: '/pony'
          - get:
              url: '/armadillo'
count: 100위처럼 성능 테스트 스크립트를 시나리오에 맞게 작성할 수 있다.
성능 테스트를 하면 아래처럼 어떤식으로 진행되고 있는지 정보를 보여준다.
Test run id: tjjxc_6wygz7zab57pffz45gcrj3wwwn4cf_dbnt
Phase started: Warm up the API (index: 0, duration: 60s) 13:00:00(+0100)
--------------------------------------
Metrics for period to: 13:00:10(+0100) (width: 9.9s)
--------------------------------------
http.codes.200: ................................................................ 2100
http.downloaded_bytes: ......................................................... 1407350
http.request_rate: ............................................................. 200/sec
http.requests: ................................................................. 30
http.response_time:
  min: ......................................................................... 13
  max: ......................................................................... 15
  mean: ........................................................................ 14.1
  median: ...................................................................... 13.9
  p95: ......................................................................... 13.9
  p99: ......................................................................... 13.9
http.responses: ................................................................ 210
vusers.completed: .............................................................. 700
vusers.created: ................................................................ 700
vusers.created_by_name.0: ...................................................... 700
vusers.failed: ................................................................. 0
vusers.session_length:
  min: ......................................................................... 177
  max: ......................................................................... 177
  mean: ........................................................................ 176.9
  median: ...................................................................... 175.9
  p95: ......................................................................... 175.9
p99: ......................................................................... 175.9그리고 html 파일로 해당 성능 테스트 결과에 대해 최종 리포팅을 해준다.
artillery run --output report.json test-config.yaml로 해당 yaml파일을 통해 성능 테스트 실행시킴 동시에 테스트 결과를 report.json이라는 곳으로 리포팅해준다.
C:\Users\qkrwl\study\stress-test-basic>artillery run --output report.json test-config.yaml
Started phase 0, duration: 10s @ 05:38:20(+0900) 2024-06-06
Report @ 05:38:30(+0900) 2024-06-06
Elapsed time: 10 seconds
  Scenarios launched:  49
  Scenarios completed: 49
  Requests completed:  49
  Mean response/sec: 5.01
  Response time (msec):
    min: 1 // 최소 지연시간
    max: 6 // 최대 지연시간
    median: 1 // 지연시간 중간값
    p95: 2 // 95%의 사용자가 느끼는 지연시간
    p99: 6 // 99%의 사용자가 느끼는 지연시간
  Codes:
200: 49 // 10초마다위처럼 간단한 결과를 볼 수 있다.
artillery report report.json -- output report.html결과를 html로 변환해서 보자.
참고: Artilery는 포라는 뜻을 가지고 있다.
728x90
'knowledge > computer science' 카테고리의 다른 글
| [DB] 트랜잭션과 ACID (0) | 2024.06.18 |
|---|---|
| [성능 테스트] Artillery 시나리오, 파라미터 (0) | 2024.06.07 |
| [성능 테스트] 필요한 배경 지식 (0) | 2024.06.03 |
| 동기식/비동기식 개념과 장단점 (0) | 2024.03.12 |
| 임베디드 시스템, 범용 컴퓨팅 시스템 (0) | 2024.02.26 |